The Range Blog
Blog: The Range
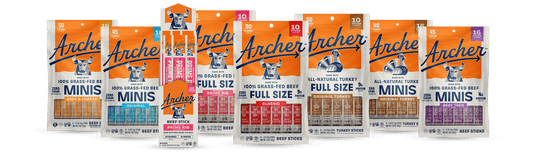
New Flavors, Bigger Reach: Archer Ignites Next ...
Archer launches Pepperoni Style, Beef Taco and Prime Rib Style Beef Sticks to drive continued growth of the meat stick category and expand its line of 100% grass-fed beef snacks...
New Flavors, Bigger Reach: Archer Ignites Next ...
Archer launches Pepperoni Style, Beef Taco and Prime Rib Style Beef Sticks to drive continued growth of the meat stick category and expand its line of 100% grass-fed beef snacks...
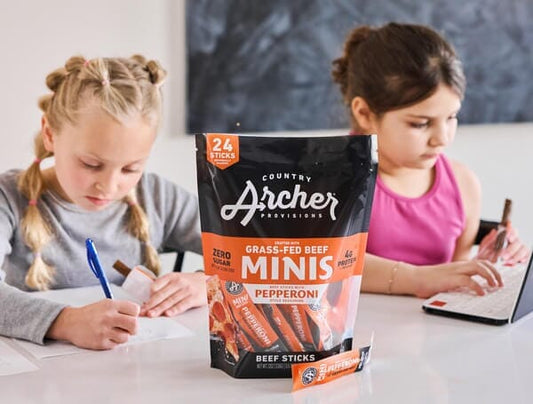
Introducing Archer's NEW Pepperoni Mini Beef St...
Archer's Pepperoni Mini Beef Sticks are making their debut exclusively at Sam's Club for a limited time only – available from April 1st through June 30, or until supplies last.
Introducing Archer's NEW Pepperoni Mini Beef St...
Archer's Pepperoni Mini Beef Sticks are making their debut exclusively at Sam's Club for a limited time only – available from April 1st through June 30, or until supplies last.
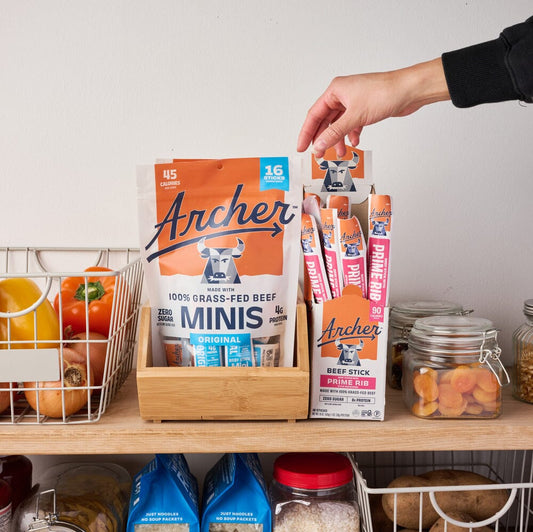
Introducing the New Archer: Bold Brand Evolutio...
We're thrilled to announce the next chapter in our company's journey with the launch of our bold new brand identity! We've simplified our name from Country Archer Provisions to simply...
Introducing the New Archer: Bold Brand Evolutio...
We're thrilled to announce the next chapter in our company's journey with the launch of our bold new brand identity! We've simplified our name from Country Archer Provisions to simply...

Top 10 Healthy Holiday Snacks to Reach Your 202...
Enjoy the festive season without compromising your diet with these delicious and nutritious holiday snacks. The holiday season is synonymous with indulgent feasts and tempting treats, making it a challenging...
Top 10 Healthy Holiday Snacks to Reach Your 202...
Enjoy the festive season without compromising your diet with these delicious and nutritious holiday snacks. The holiday season is synonymous with indulgent feasts and tempting treats, making it a challenging...
Top 13 Organ Meats & Their Health Benefits
Organ meats, also known as offal, have been consumed by various cultures throughout history and are still considered a delicacy in many parts of the world. They are highly nutritious...
Top 13 Organ Meats & Their Health Benefits
Organ meats, also known as offal, have been consumed by various cultures throughout history and are still considered a delicacy in many parts of the world. They are highly nutritious...

Top Snacks for July 4th Independence Day 2024
Introduction Independence Day is a time for celebration, fireworks, and, most importantly, food. As friends and family gather to honor America's birthday, snacks play a crucial role in keeping the...
Top Snacks for July 4th Independence Day 2024
Introduction Independence Day is a time for celebration, fireworks, and, most importantly, food. As friends and family gather to honor America's birthday, snacks play a crucial role in keeping the...